
How to Use a Burlap Roll for DIY Projects
A few months ago, I helped a friend plan a backyard wedding on a pretty tight budget. We were determined to make it look beautiful without spending a fortune, so we got creative with materials, and that’s when burlap became our secret weapon. We used rolls of it to make table runners, wrap around flower pots, and even create a DIY photo booth backdrop.
By the end of it, I was amazed at how one simple material could be used in so many different ways. The burlap uses were endless, and it added such a cozy, rustic charm to everything.
Since then, I've reached for decorative burlap rolls whenever a new DIY project pops up. It’s affordable, easy to use, and adds a warm, rustic feel to almost anything.
But before we get into the ideas, what exactly is a burlap roll, and why is it so popular in DIY projects?
What is a Burlap Roll?
A burlap roll is essentially a long sheet of burlap fabric that's been rolled up for easy storage and use. Burlap itself is a coarse, woven fabric usually made of natural jute or hemp fibers. It's known for its earthy texture and neutral color, which makes it perfect for rustic and farmhouse-style projects.
The natural composition of burlap, typically made of jute or hemp, gives it durability and flexibility, making it ideal for a wide range of creative applications.
What makes burlap rolls so popular among DIYers is how versatile they are. You can cut them to any length, shape them easily, and they hold up well in a variety of settings, indoors or out.
The uses for burlap are practically endless, from home décor to garden projects. Burlap rolls come in different widths and can even be found with lace trims, colored edges, or printed patterns, depending on the look you're going for.
Now that you know what they are, let’s look at how you can use them for your DIY ideas.
8 Ways to Use a Burlap Roll for DIY Projects
Got a burlap roll and not sure what to do with it? Here are 8 fun and easy DIY ideas to turn that roll into something useful and creative.

1. Table Runners
One of the first things I ever made with burlap was a table runner for a family dinner. I didn’t have a fancy tablecloth, but I wanted the table to look nice. I just unrolled the burlap, cut a strip, and laid it across the center.
It instantly made everything feel more put together, even with my regular dishes! Burlap adds a natural, cozy look to the table and works for any season—just add candles or flowers and you’re set.
How to do it:
- Measure your table length and add a few inches to each end for a nice drape.
- Cut straight by following the weave pattern in the fabric.
- To avoid fraying, fold the edges over and glue them down or use fabric tape.
- Iron the burlap on low heat to flatten it before placing it on the table.
2. Mason Jar Wraps
I had a bunch of empty mason jars sitting around after the canning season, so I decided to turn them into decorations. I wrapped them with burlap, tied some twine around them, and popped in a few wildflowers. Just like that, I had centerpieces for my porch table! These are great for candles, too, especially those battery tea lights.
How to do it:
- Cut a strip of burlap wide enough to cover the jar’s height and long enough to wrap around.
- Secure with hot glue or tie it in place with twine.
- Add embellishments like a small chalkboard tag or a dried flower.
- Use battery-operated candles if using them for lighting to avoid fire risk.

3. Wreaths
Making a wreath out of burlap is easier than it looks. I made one for our front door during fall, and I still get compliments on it. You just loop the burlap through a wire frame, bunch it a little to make it fluffy, and add anything you like: fake flowers, pinecones, or little wooden signs. It's a fun weekend project and makes your front door look super welcoming.
How to do it:
- Use a wire wreath frame from a craft store.
- Cut or fold burlap into loops and weave them in and out of the frame.
- Fluff and arrange the loops for fullness.
- Attach decorations with floral wire or hot glue.
4. Wall Art or Signs
One rainy afternoon, I decided to get crafty and make a sign for our kitchen. I stretched some burlap over an old picture frame, stenciled the word “Gather” on it, and added a little greenery at the corners. It turned out way better than I expected! Burlap makes a great background for wall signs because of its texture, and it fits with almost any home style.
How to do it:
- Stretch burlap over a wooden frame, corkboard, or old canvas and staple or glue it in place.
- Use stencils and acrylic paint for clean lettering.
- Let the paint dry completely before hanging.
- Add embellishments like small wooden cutouts, ribbons, or faux flowers for dimension.

5. Gift Wrapping
I ran out of wrapping paper once before a birthday party and reached for a burlap. It turned out to be one of the prettiest gifts I’ve ever wrapped.
The rough texture of the burlap with a pretty ribbon made it feel extra special plus it was reusable! It’s also a great way to wrap small jars, candles, or boxes for holidays or housewarming gifts.
How to do it:
- Cut a square piece of burlap large enough to wrap your item.
- Fold like regular wrapping paper but secure with hot glue, twine, or ribbon.
- Add a sprig of greenery or a cinnamon stick for a festive accent.
- Use gift tags made from kraft paper or wood slices for a complete rustic look.
6. Plant Pot Covers
A while ago, I was trying to make my patio look nicer without buying new pots. So, I wrapped the old plastic ones in burlap and tied them with twine. It made such a difference! Burlap instantly gives any pot a farmhouse feel. You can switch the wrap out with the seasons, too, which is a nice bonus.
How to do it:
- Cut enough burlap to wrap around the pot and cover some height.
- Secure with jute twine, ribbon, or a bit of glue.
- For a more fitted look, glue the burlap directly to the pot and fold over the edges.
- Add labels or small chalkboard tags for plant names.

7. Chair Sashes or Bows
When we hosted a backyard dinner, I used burlap strips as chair bows to make the setup feel more festive. I didn’t buy anything fancy—just cut strips and tied them into bows around the back of the chairs. It instantly made the whole area look like a party space. This works great for weddings and baby showers, too.
How to do it:
- Cut long strips of burlap to match the width of your chairs.
- Tie into a bow or simple knot across the back of each chair.
- Add a flower, greenery, or tag to the center of the bow for decoration.
- Use wide burlap ribbon rolls for a neater and more finished look.
8. Banners or Garlands
One of my favorite DIY projects was a “Happy Fall” banner I made with burlap triangles. I painted letters on them and hung the banner across our fireplace. It was simple, festive, and made our living room feel extra cozy. You can make banners for birthdays, holidays, or even just cute phrases like “Welcome” or “Home Sweet Home.”
How to do it:
- Cut burlap into triangles or pennant shapes.
- Use stencils and paint to add letters or designs.
- String them together with twine or ribbon by folding the top edge over the string and gluing it down.
- Let the painted letters dry fully before hanging.
Essential Tips for Working with Burlap
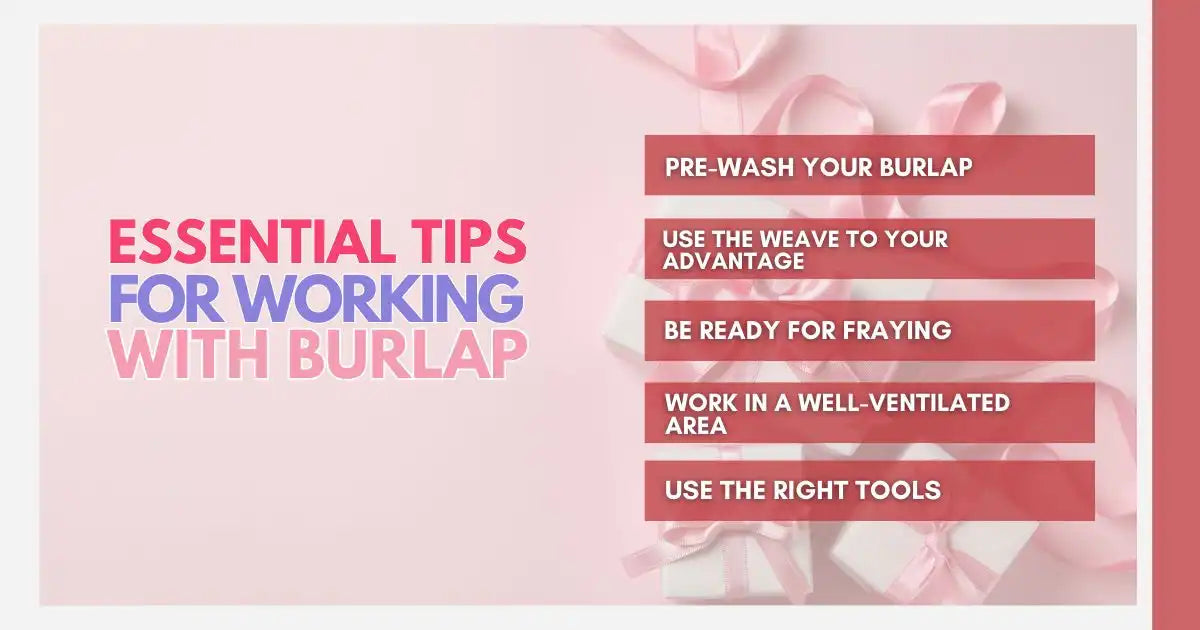
Burlap can add a rustic charm to any project, but it’s not always the easiest fabric to handle. These simple tips will help you work with burlap without the mess and frustration.
1. Pre-Wash Your Burlap
It’s a good idea to pre-wash your burlap before starting your project. This helps soften the fabric, reduce fraying, and wash out any loose fibers, making it easier to handle—just use a gentle cycle with mild detergent and let it air dry.
2. Use the Weave to Your Advantage
Burlap is woven fabric, so it's important to respect its natural weave when cutting or handling it. Follow the lines of the weave when cutting to ensure your edges are straight and even. If you want a clean edge, avoid cutting against the grain, as this can lead to more fraying. You can also choose to leave the edges unfinished for a more rustic look if you prefer the frayed effect.
3. Be Ready for Fraying
Burlap is naturally prone to fraying, which is part of its rustic charm, but it can be tricky to manage in some projects. To minimize fraying, you can either fold over and glue the edges or sew a simple hem. If you want a more rugged look, leave the edges raw, but keep in mind that over time, the fabric may continue to unravel, especially if it gets wet or is handled a lot.
4. Work in a Well-Ventilated Area
Working with burlap can release fibers into the air, especially when cutting or manipulating large pieces. For your comfort and health, it’s a good idea to work in a well-ventilated space, ideally outdoors or in a room with an open window. This helps to prevent irritation from burlap dust, which can be a little overwhelming, especially for those with allergies or respiratory sensitivity.
5. Use the Right Tools
Burlap can be tough on scissors or regular sewing needles, so it's worth using the right tools for the job. A good pair of sharp, heavy-duty scissors will help you cut through the fabric cleanly. If you’re sewing, opt for a strong, heavy-duty needle to avoid breaking it or damaging the fabric.
If you’re working with burlap for more delicate projects, like small appliqué designs, consider using a rotary cutter for smoother edges.
The Best Creations Come from the Simplest Materials
When you begin a DIY project, you don’t always need fancy tools or expensive supplies to create something beautiful. Often, the most stunning creations come from basic materials like burlap, wood, or fabric—items that are easy to find and budget-friendly. It's about tapping into your creativity and seeing the potential in simple things.
With a little imagination and some hands-on effort, those basic materials can become personal masterpieces that enhance your space or tell a meaningful story.
For all your crafting needs, BBcrafts offers high-quality burlap rolls perfect for wreaths, table runners, rustic décor, and more. With BBcrafts’ affordable selection and dependable quality, bringing your DIY vision to life has never been easier.
Key Takeaways
Burlap Rolls Are Incredibly Versatile and Budget-Friendly
From table runners and wreaths to plant covers and gift wraps, burlap rolls can be used in countless DIY projects that add a rustic, handmade charm to home décor and events, without breaking the bank.
Simple Techniques Make a Big Visual Impact
Most burlap projects require only basic tools like scissors, glue, and twine, yet they create impressive results. Whether you're decorating mason jars or crafting a banner, small touches go a long way in transforming spaces.
Preparation and Handling Matter for Best Results
Pre-washing burlap, cutting along the weave, managing frays, and using the right tools help ensure smoother crafting and longer-lasting projects, especially for those new to working with this natural material.


